
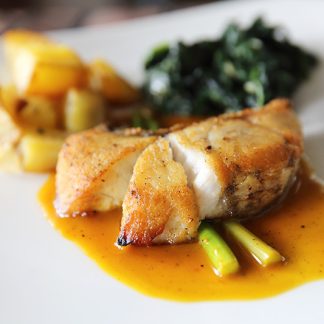
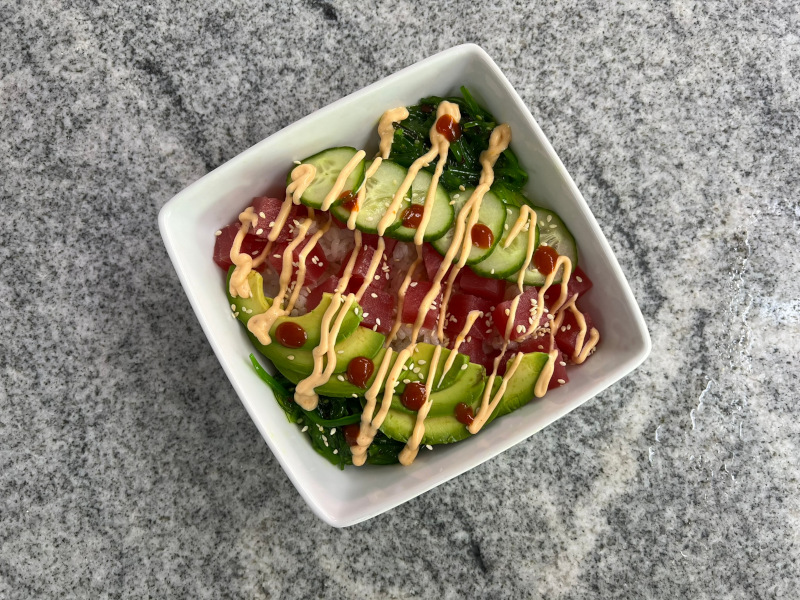
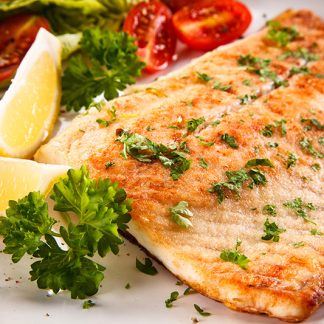
Citrus-Herb Grilled Wahoo
-
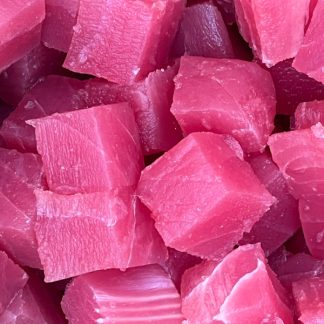
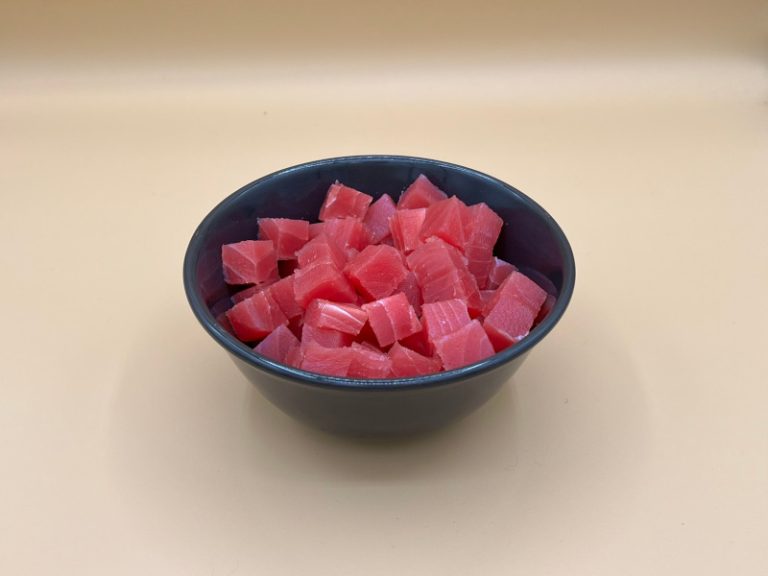
Fresh Wahoo
Price range: $8.95 through $14.95 — or subscribe and save 5% Select options This product has multiple variants. The options may be chosen on the product page
Citrus-Herb Grilled Wahoo
2
servings15
minutes20
minutesIngredients
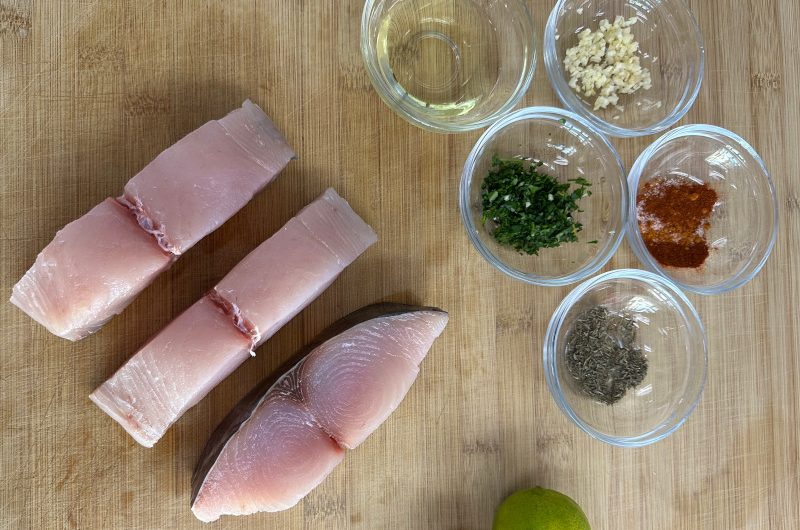
two 8oz fresh wahoo fillets
2 tbsp olive oil
zest and juice of 1 lemon
zest and juice of 1 lime
2 cloves of garlic, minced
1 tsp fresh thyme (or 1/2 tsp dried thyme)
1 tsp fresh parsley, chopped
1/2 tsp smoked paprika
1/4 tsp cayenne pepper (optional, for a touch of heat)
salt and black pepper, to taste
Directions
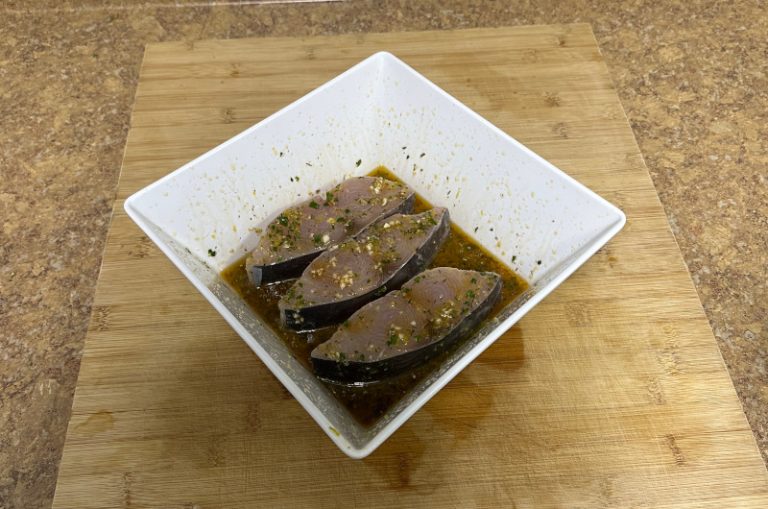
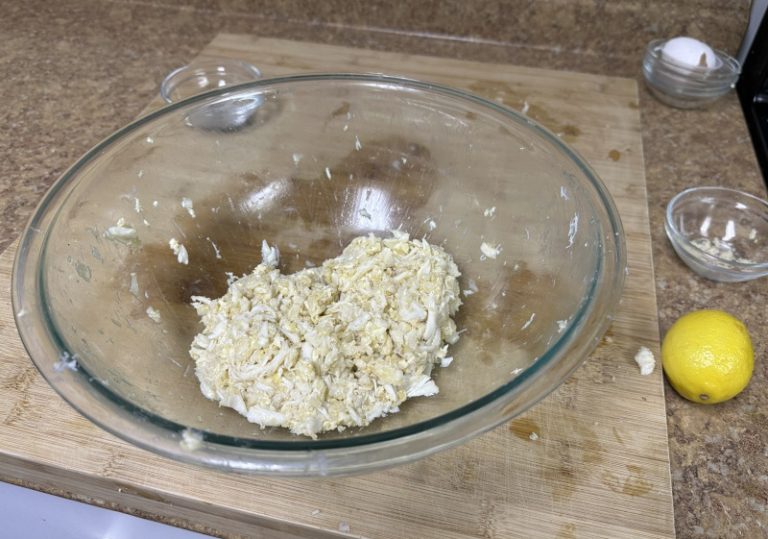
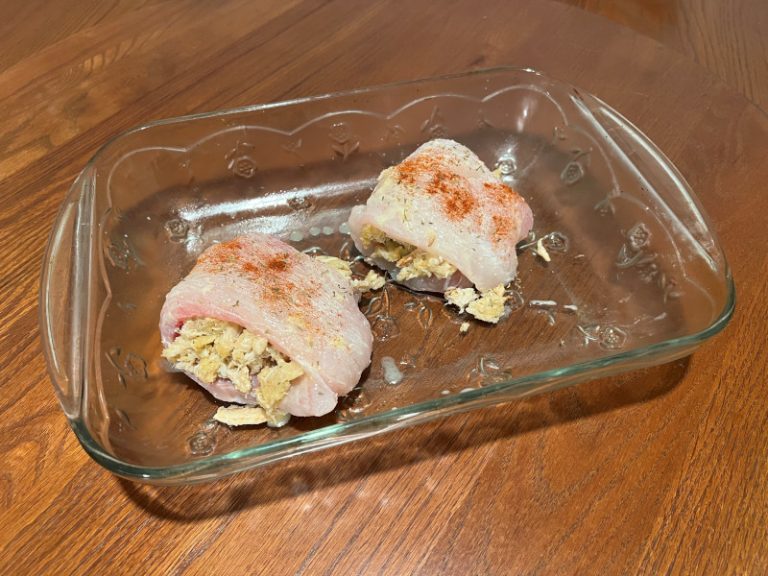
Marinate the Wahoo: In a small bowl, mix olive oil, lemon zest and juice, lime zest and juice, garlic, thyme, parsley, smoked paprika, cayenne (if using), salt, and pepper. Place the wahoo fillets in a shallow dish or resealable bag, pour the marinade over them, and ensure they're well coated. Marinate in the refrigerator for 20-30 minutes (no longer to avoid overpowering the fish).
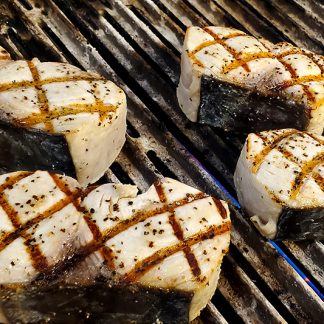
Preheat the Grill: Preheat the grill to medium-high heat and oil the grates to prevent sticking.
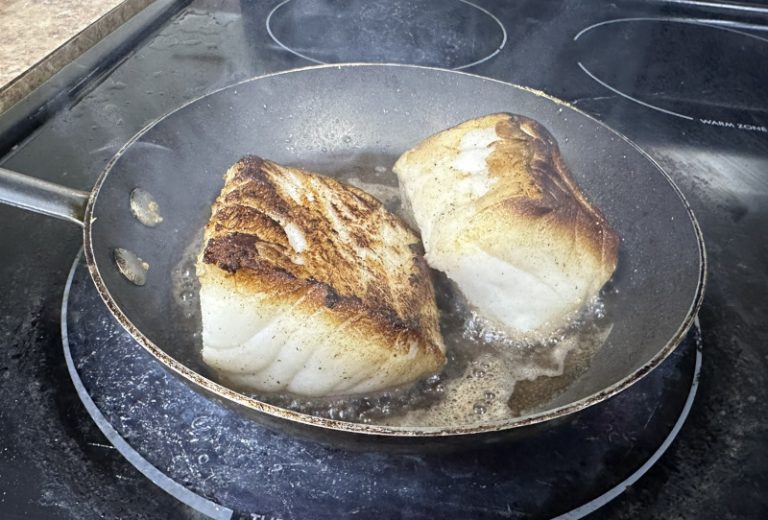
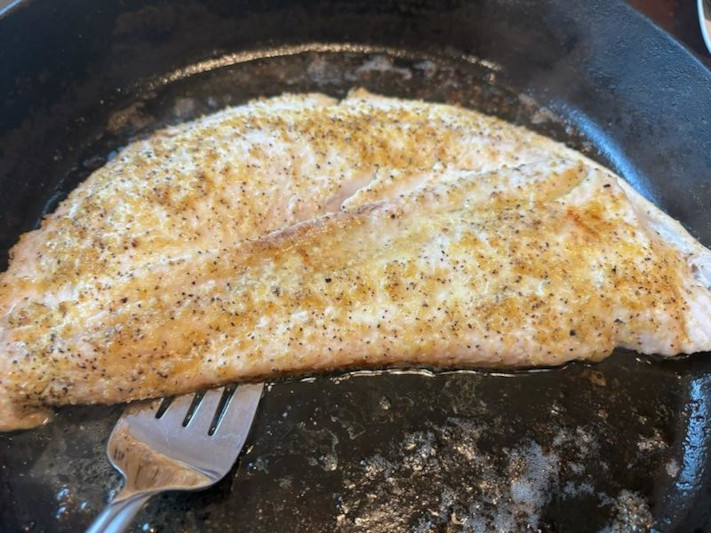
Grill the Wahoo: Remove the fillets from the marinade, letting excess drip off. Place the fillets on the grill and cook for 3-4 minutes per side, depending on thickness, until the fish is opaque and flakes easily with a fork. Avoid overcooking to keep the wahoo tender and moist.

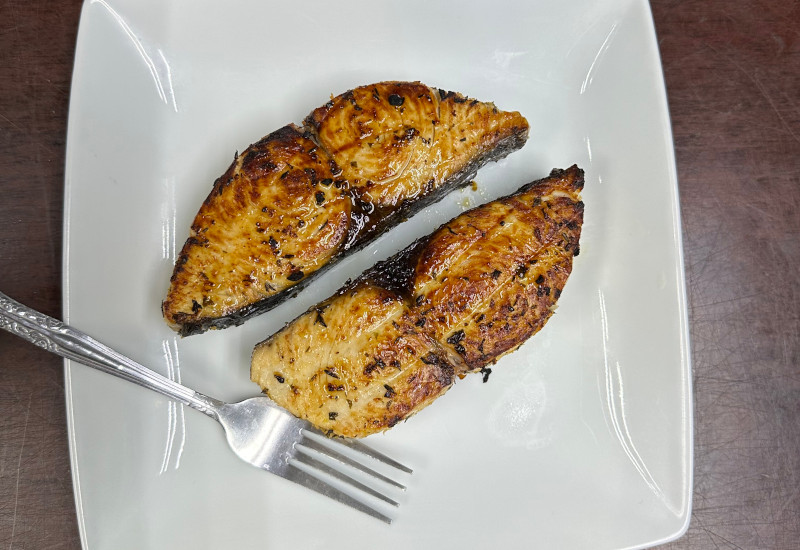
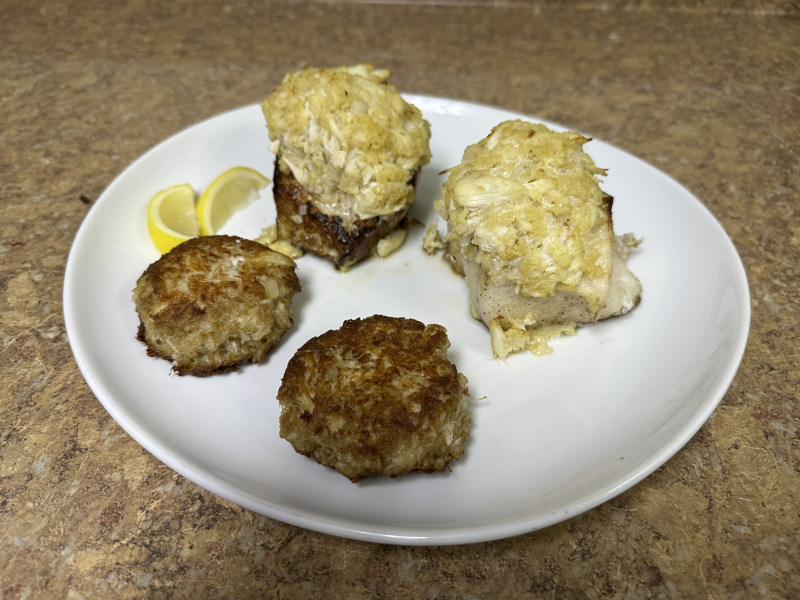
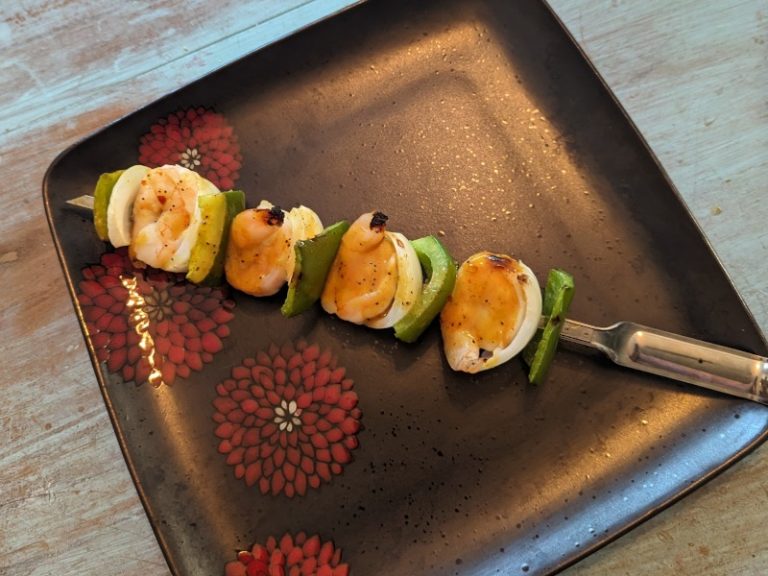
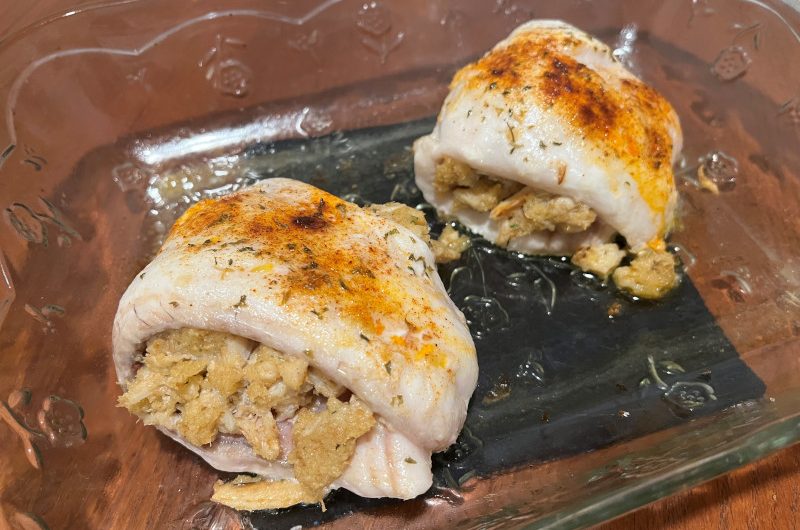
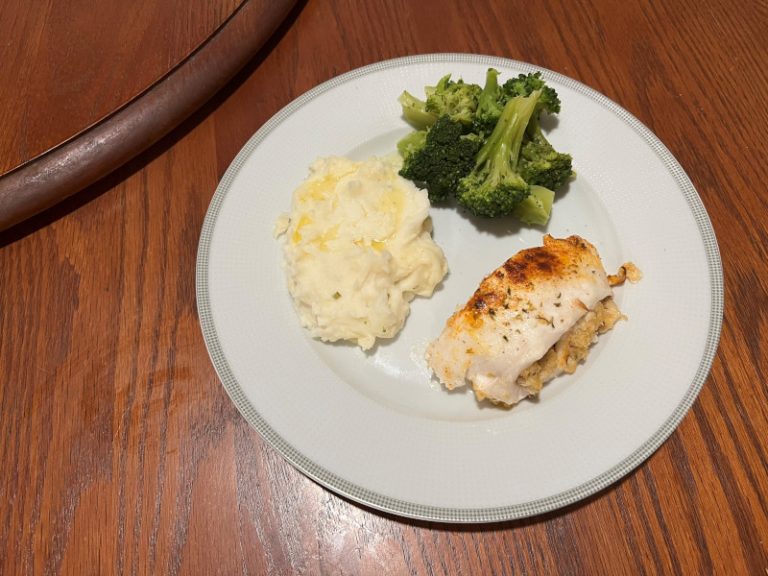
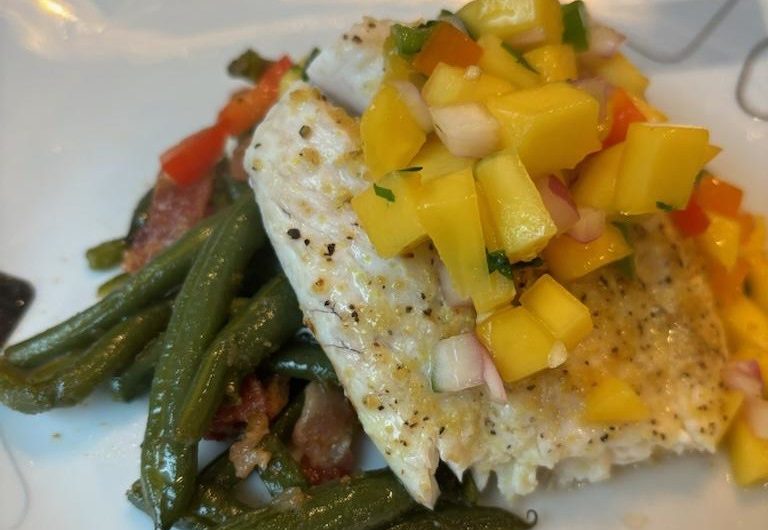
Serve: Plate the grilled wahoo and drizzle with a little fresh lemon juice. Garnish with extra parsley or lemon wedges if desired.


